Set up custom domains
In Trickle Pro and Premium subscriptions (see details here), you can connect your own domain to a project or set up a custom .trickle.host domain. Follow these steps to add and manage custom domains:Step 1
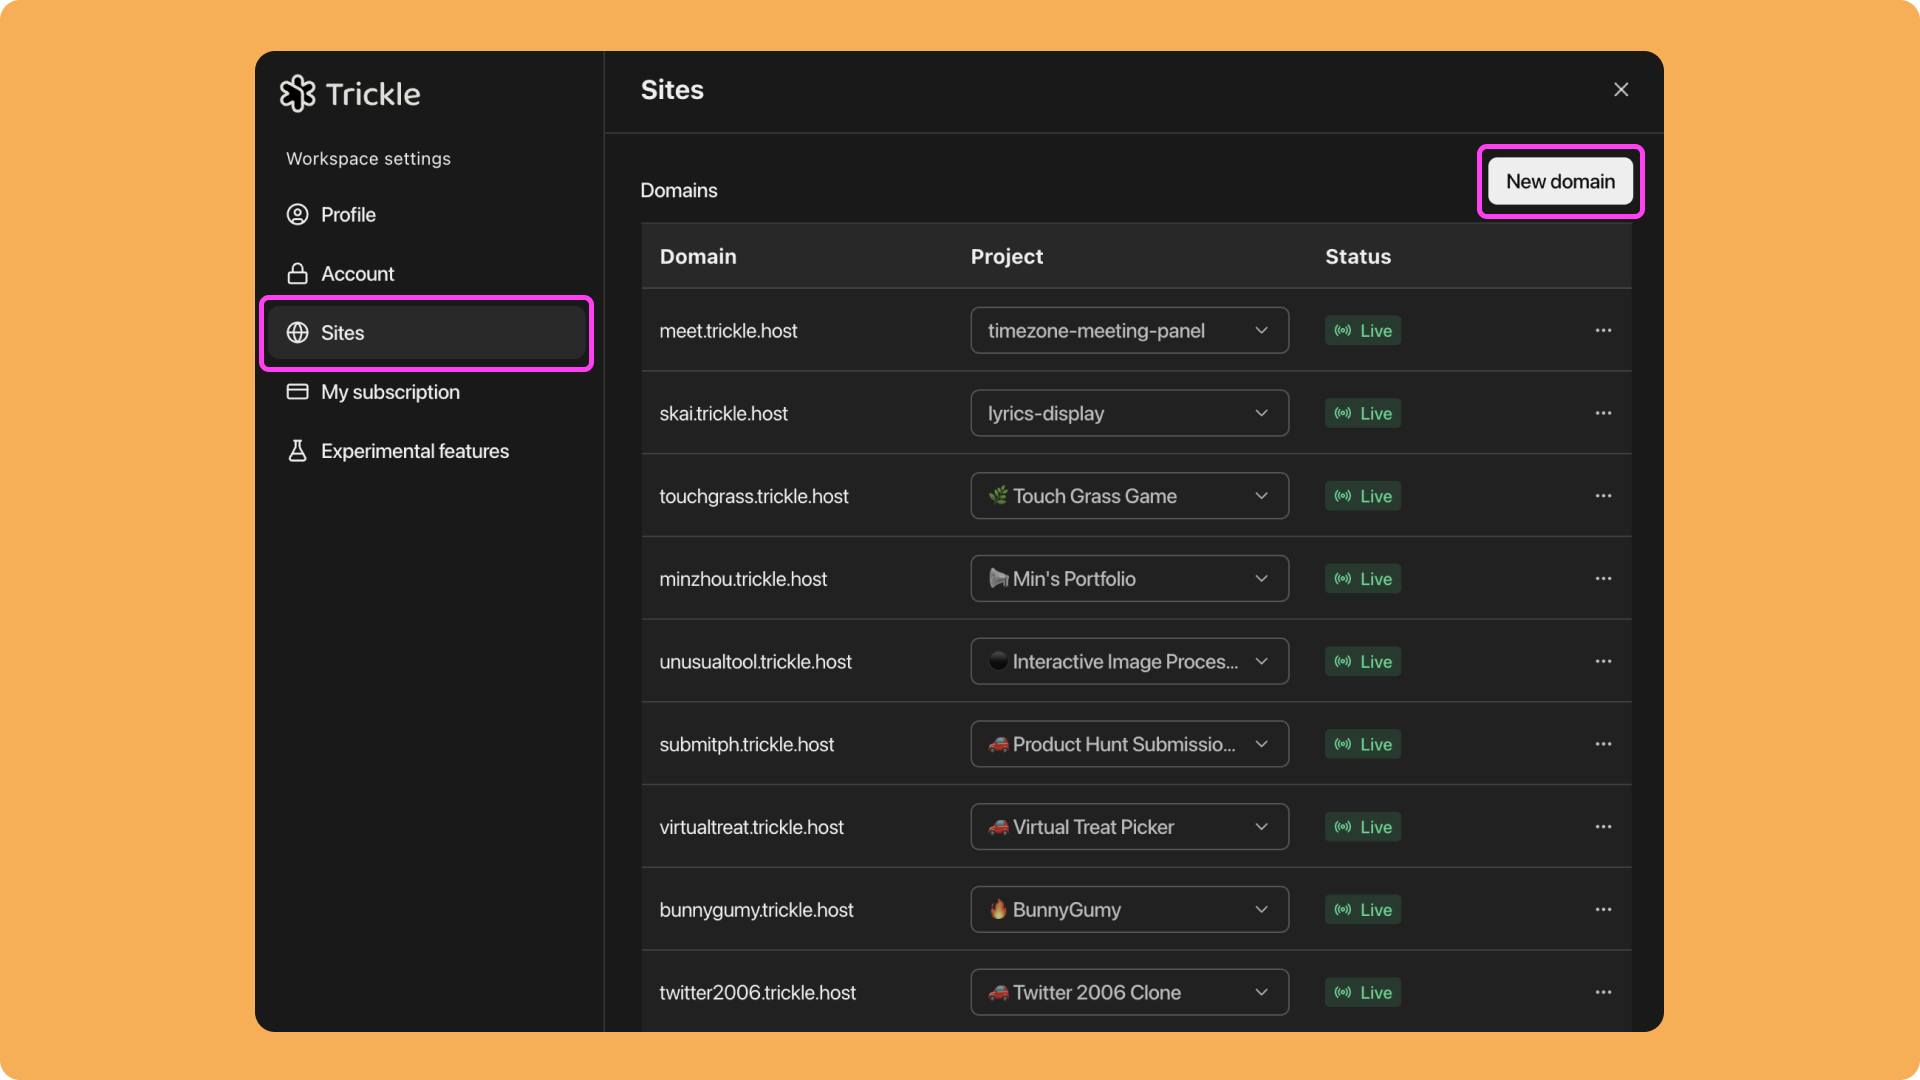
Open the project sidebar and click the Workspace settings icon next to your username.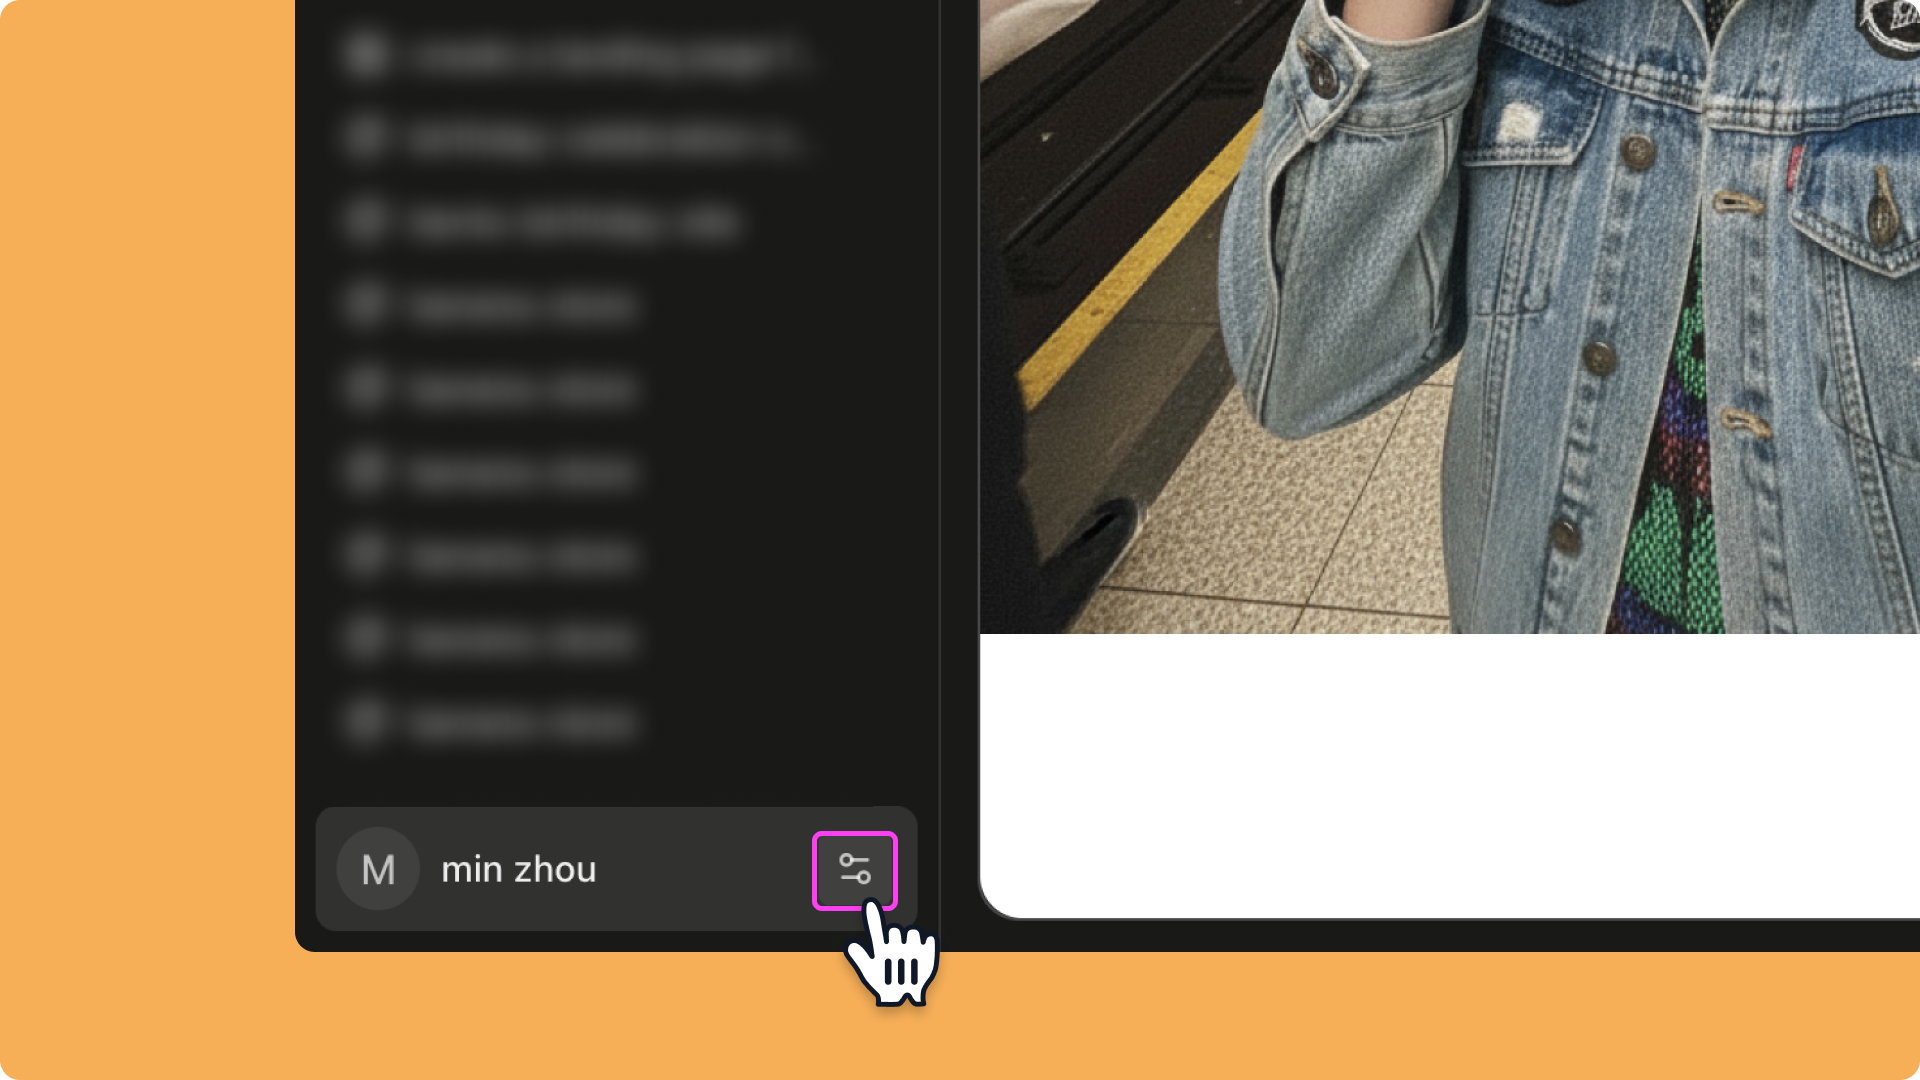
Step 5
Go to your domain registrar and add a CNAME record pointing to the provided address.
Step 6
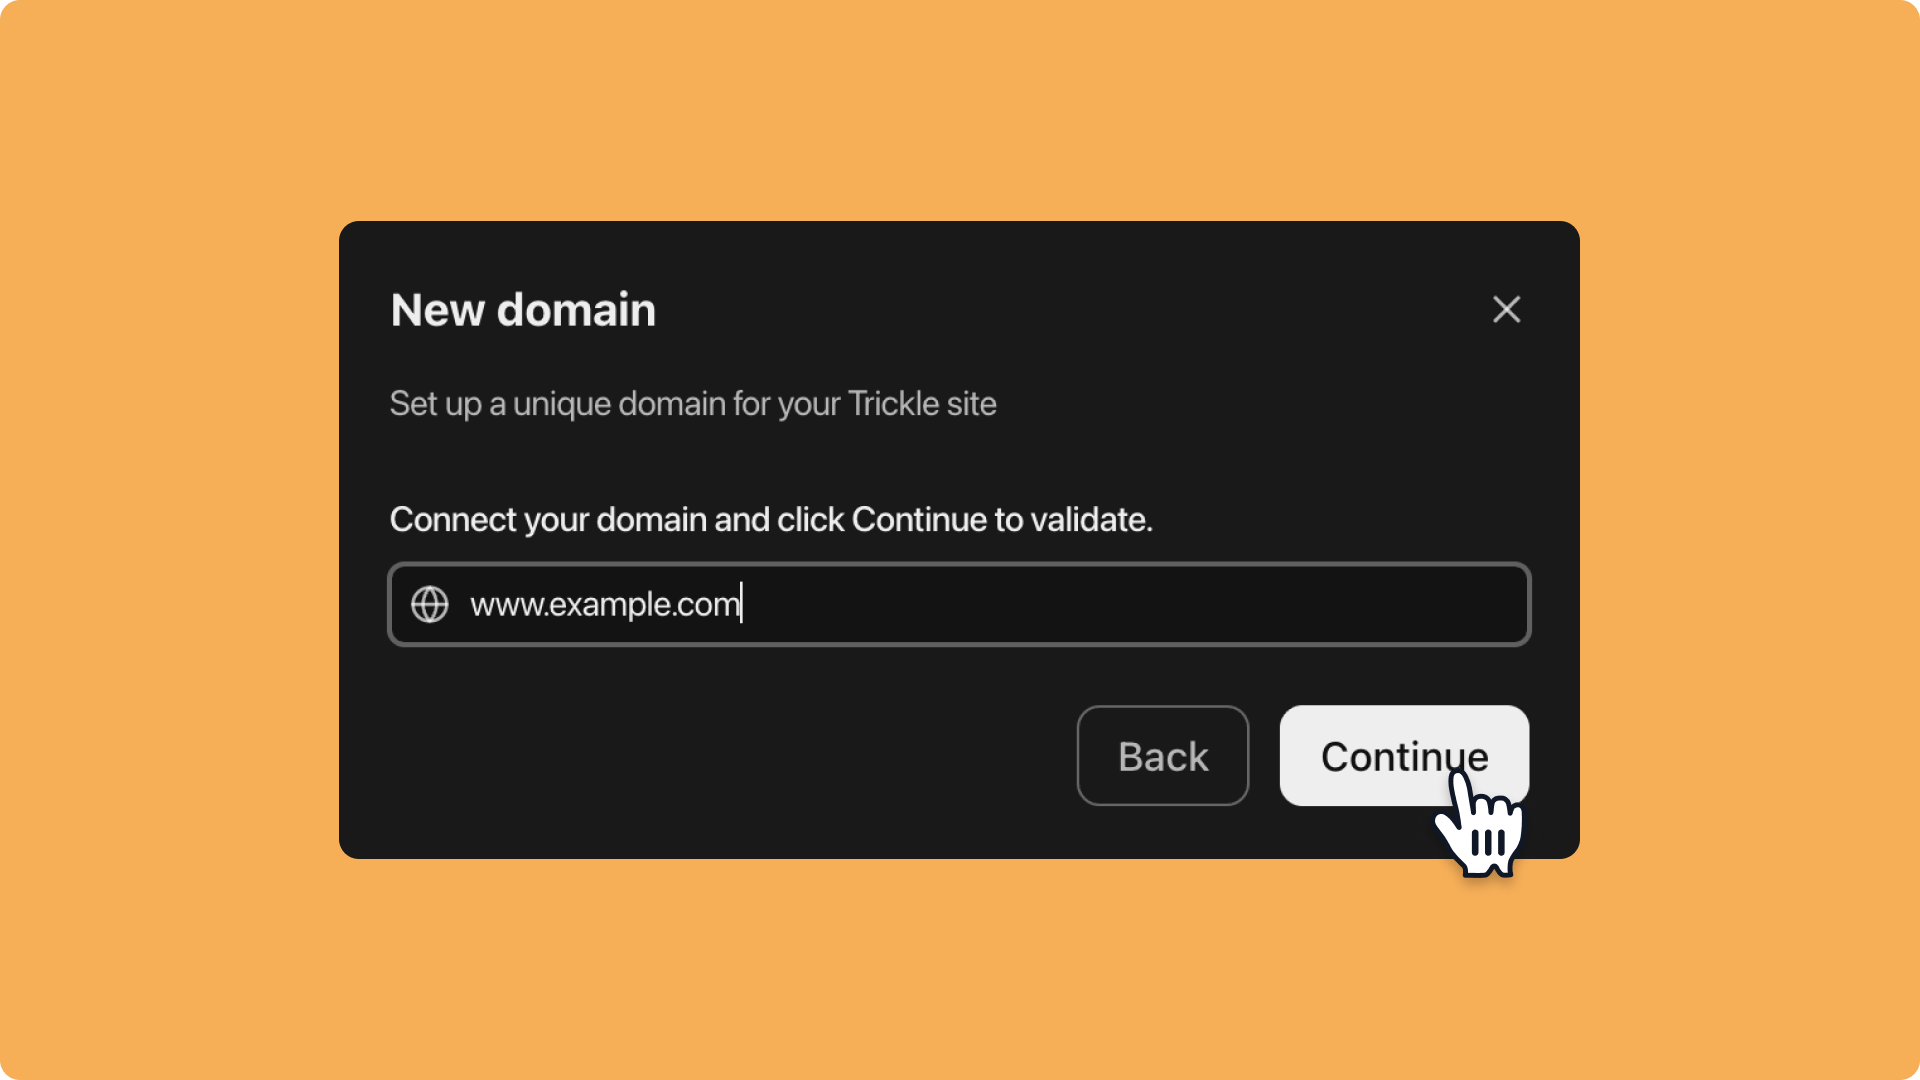
After adding the CNAME record, click Validate:
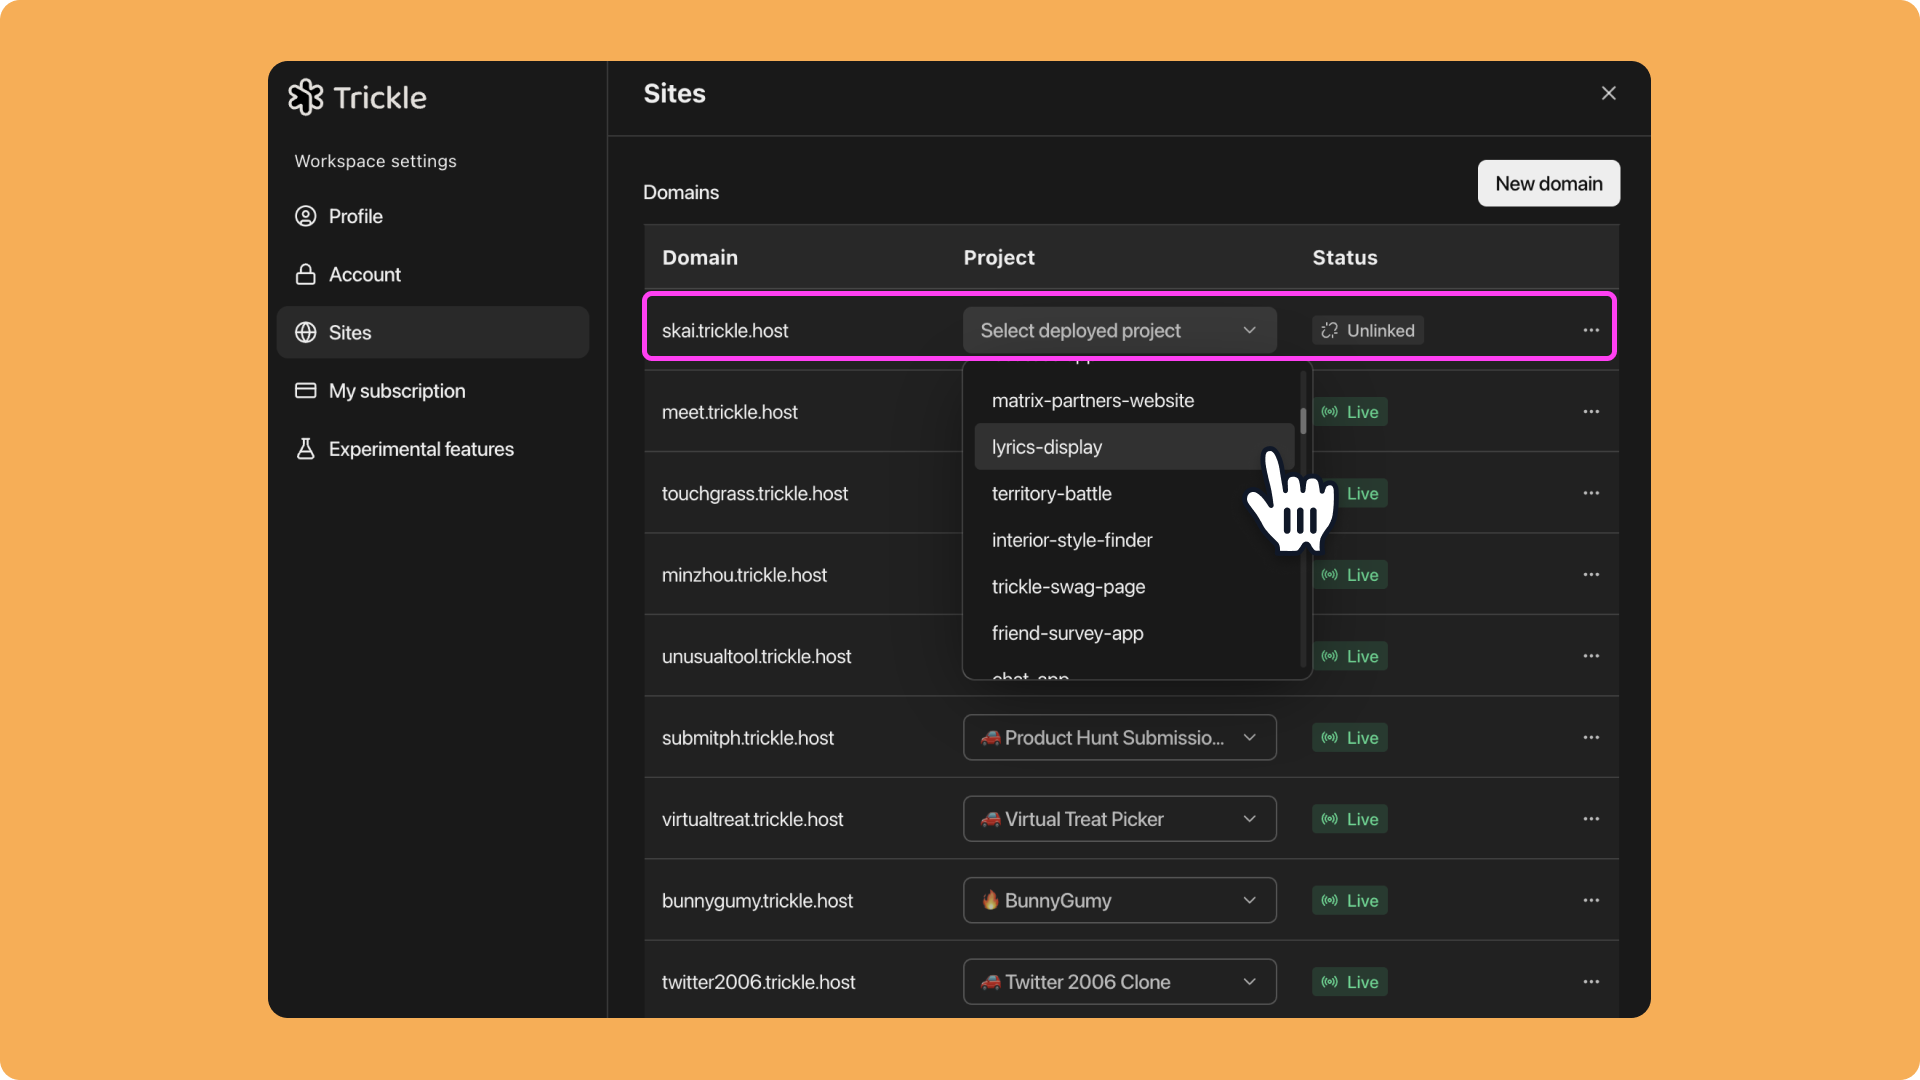
- If validation succeeds, the project will be bound to the custom domain automatically.
- If validation fails:
- Return to your domain registrar to check the CNAME configuration.
- If the configuration is correct, wait up to 48 hours before trying again.
- If the issue persists, contact Trickle Support: support@trickle.so.
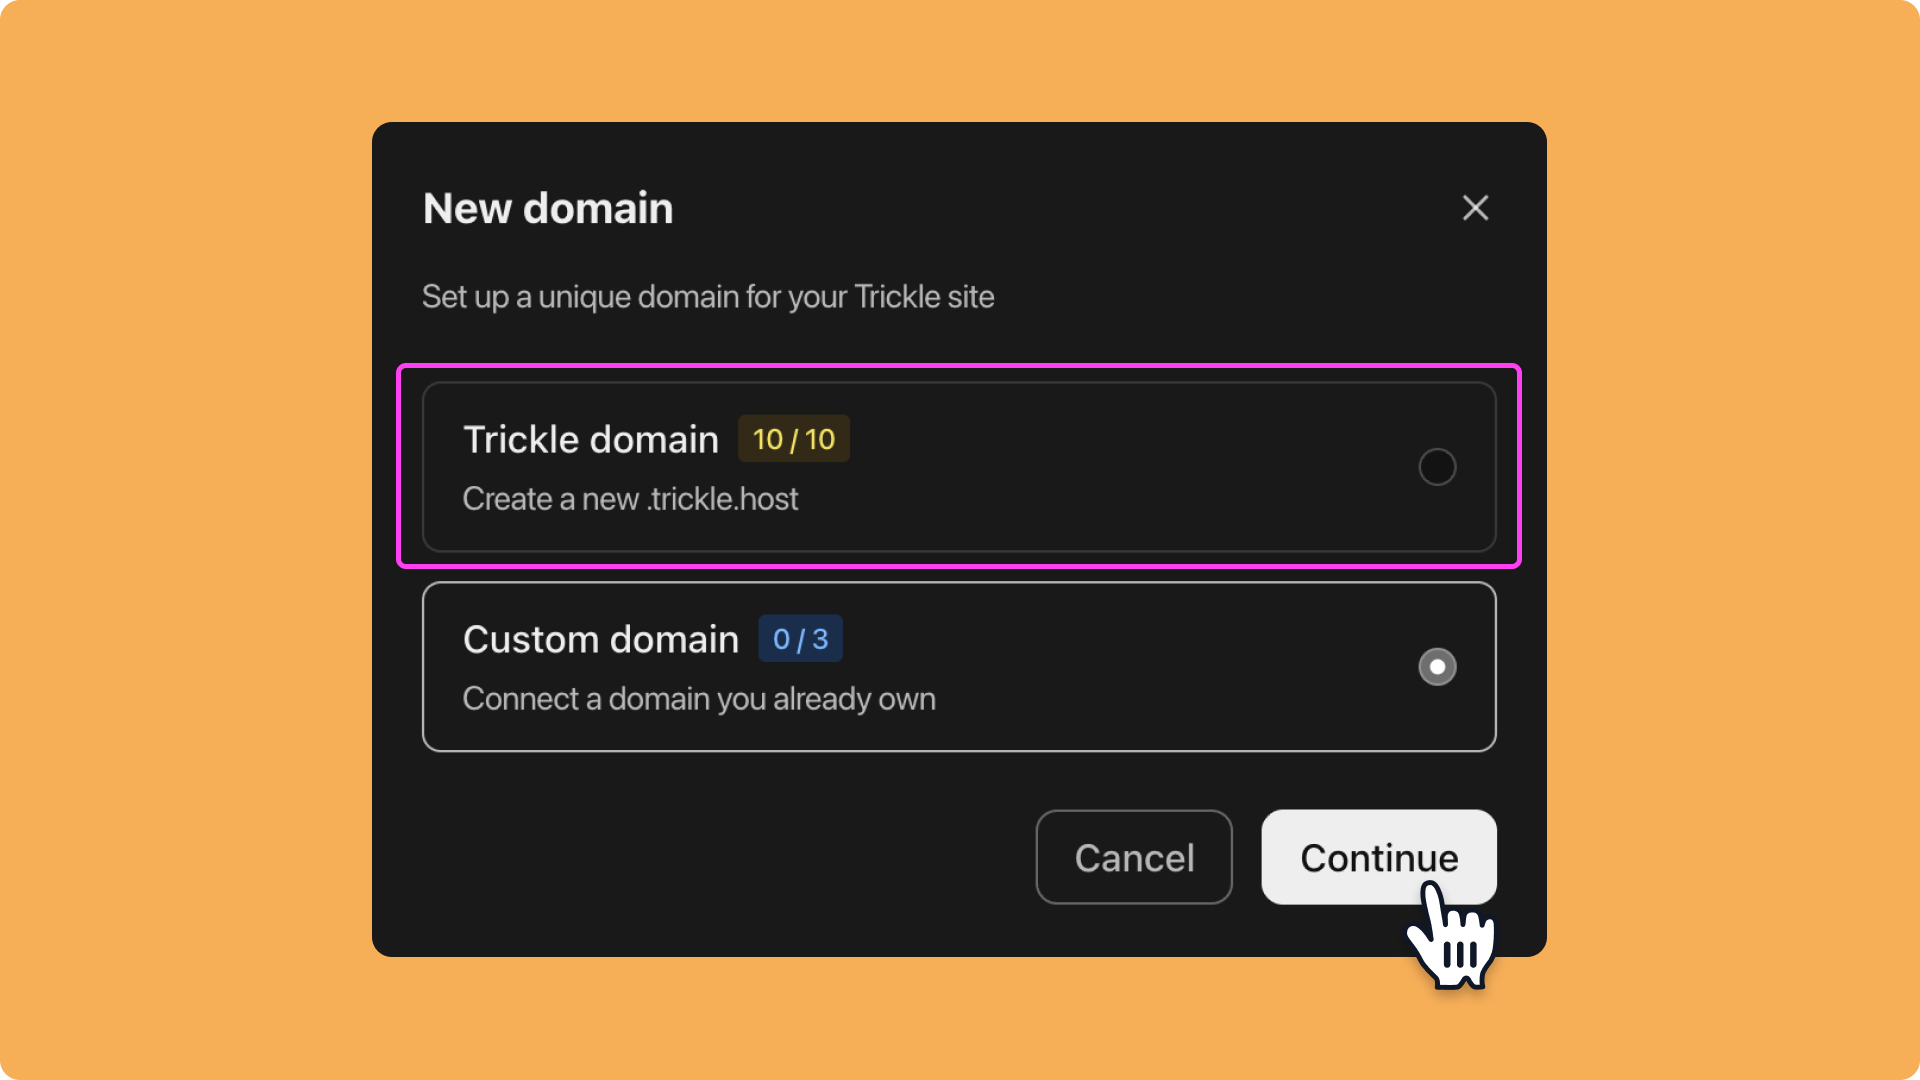
Set up trickle.host Domain
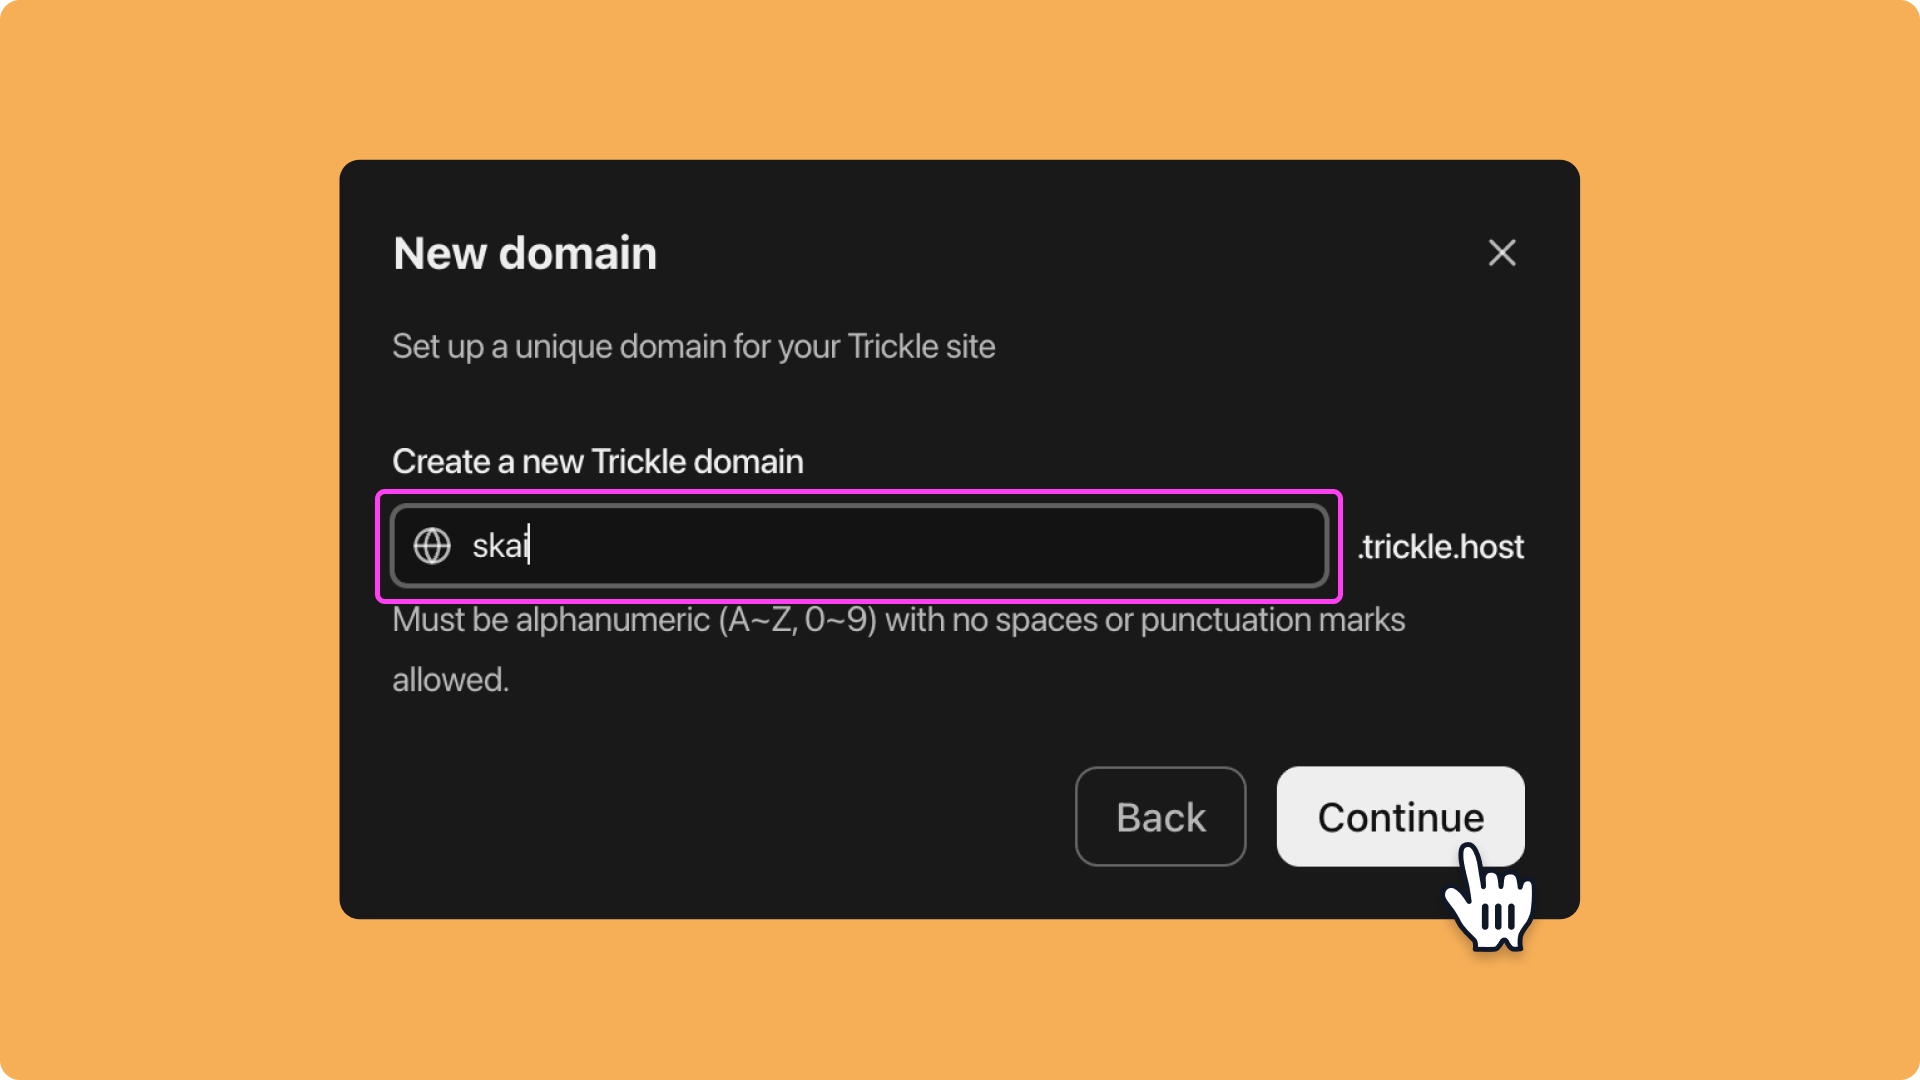
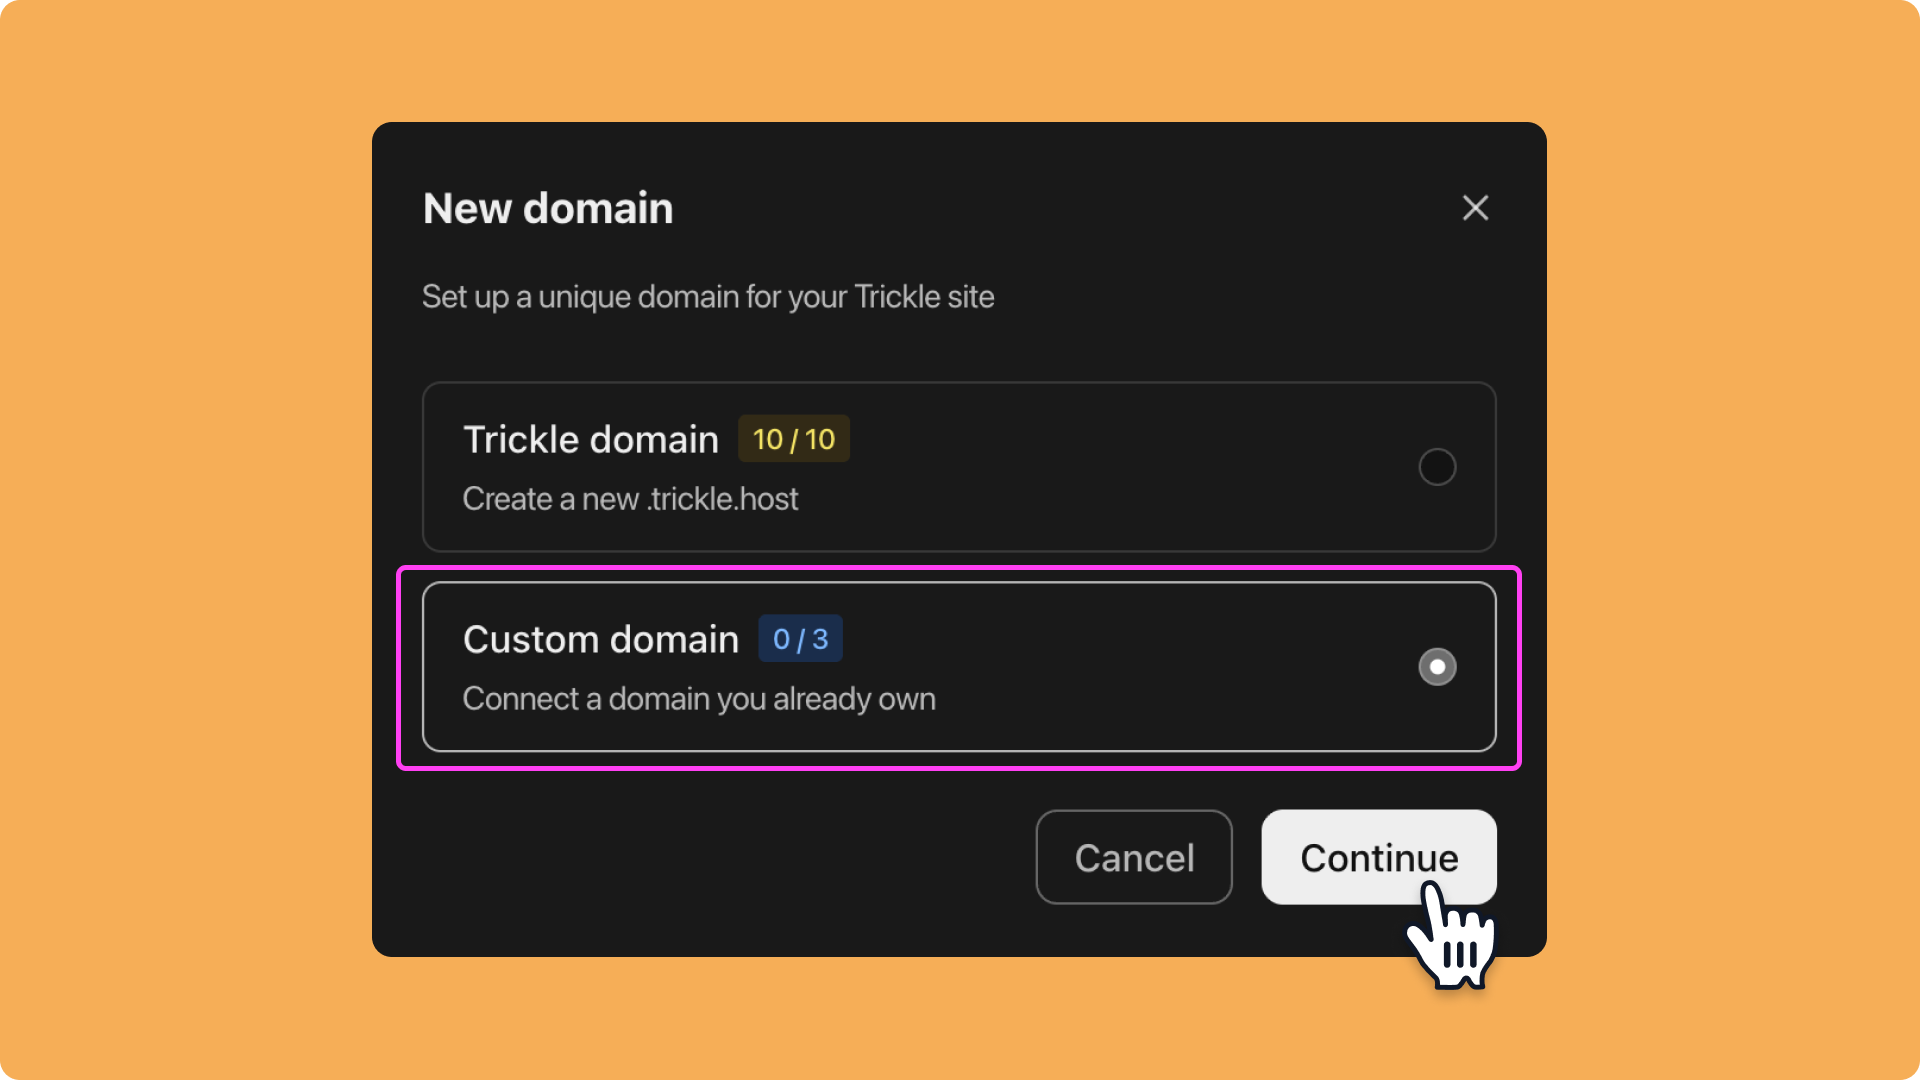
You can also set up a custom .trickle.host domain for your project. Steps:Step 1
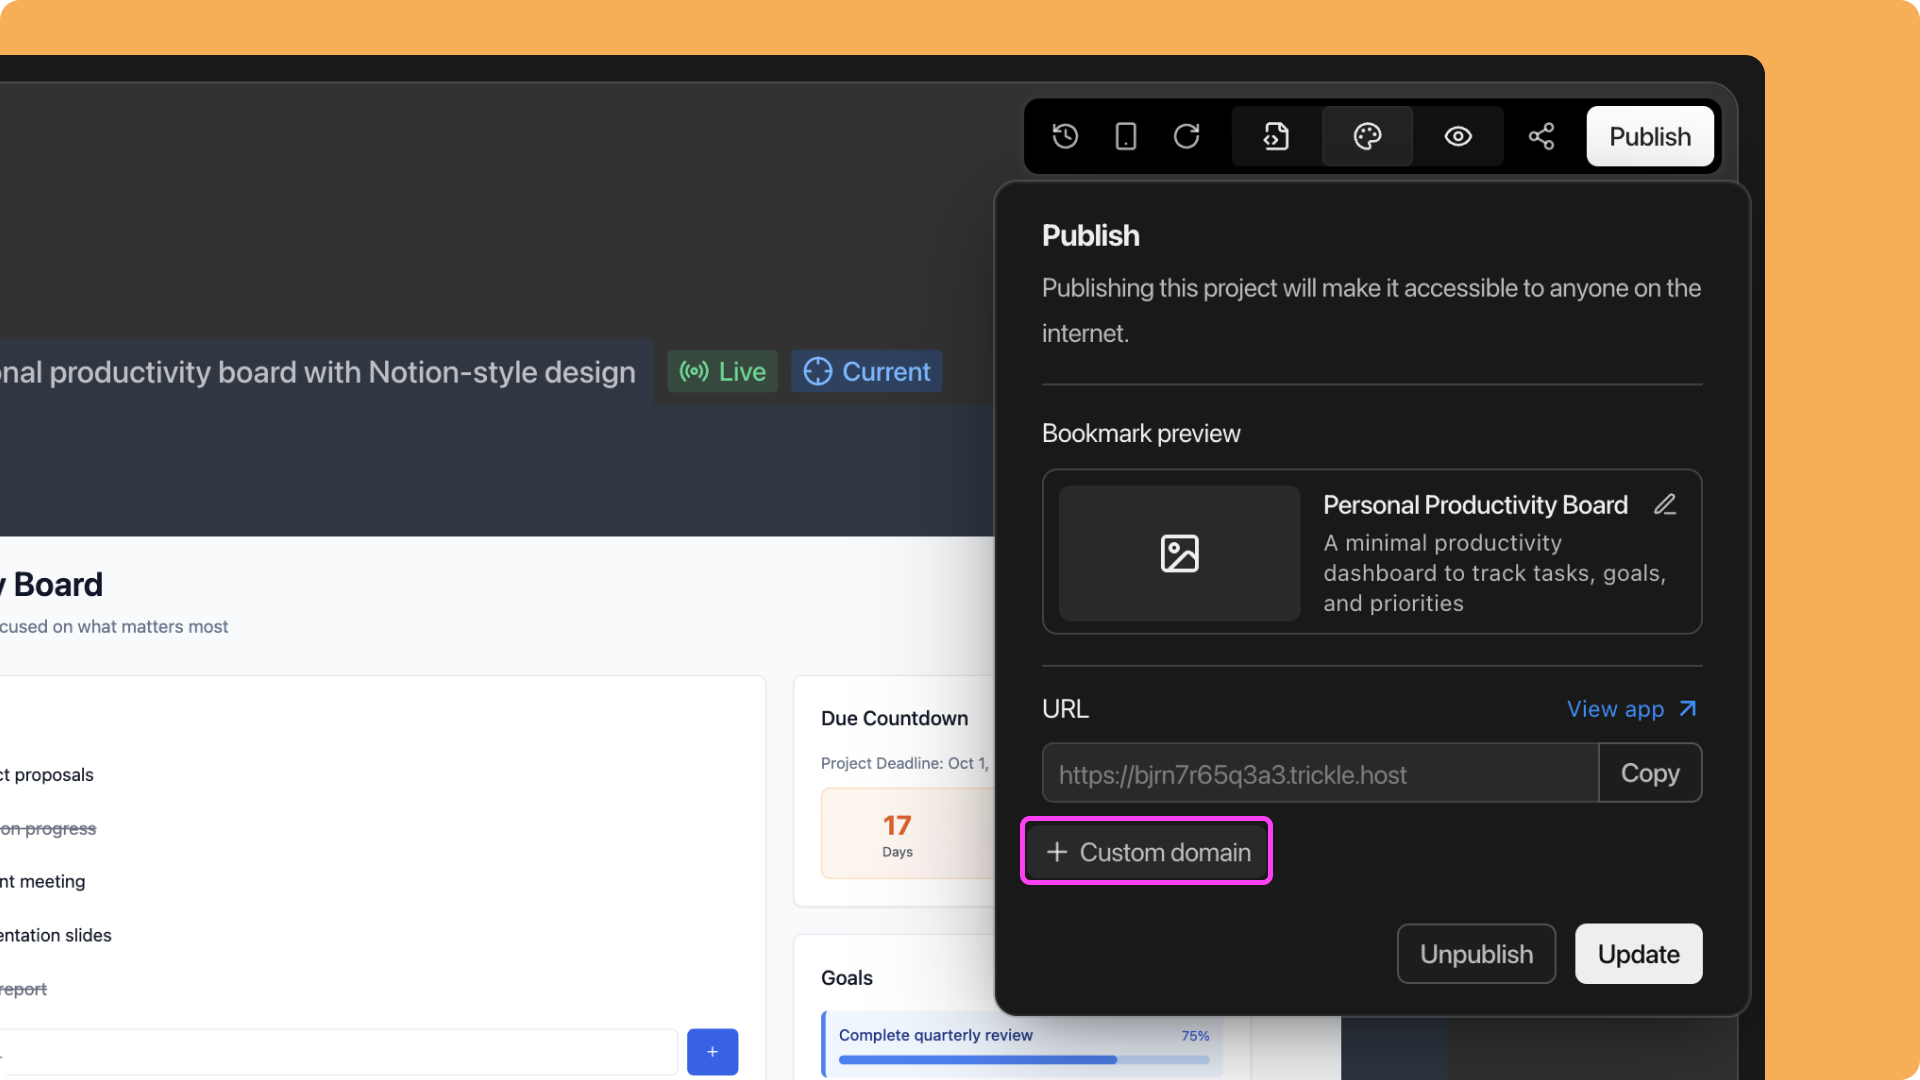
Open the project sidebar and click the Workspace settings icon next to your username. Alternatively, go to a specific project, click the Publish button, then select + Custom domain.
Step 3
Enter a subdomain (only English letters and numbers are supported; no special characters or spaces).